Hey there! As a supplier of spring pins, I've seen my fair share of folks dealing with damaged spring pins. It can be a real pain in the neck, but don't worry - replacing a damaged spring pin isn't as complicated as it might seem. In this blog post, I'm gonna walk you through the whole process step by step.
First things first, let's talk about why you might need to replace a spring pin in the first place. Spring pins are used in a whole bunch of applications, from automotive parts to industrial machinery. They're designed to hold components together, and over time, they can wear out or get damaged due to factors like vibration, corrosion, or just plain old wear and tear. When a spring pin gets damaged, it might not hold things together as securely as it should, which can lead to all sorts of problems. So, if you notice any signs of damage, like a loose fit or visible wear on the pin, it's probably time to replace it.
Now, let's get into the nitty - gritty of how to replace a damaged spring pin.
Step 1: Gather Your Tools
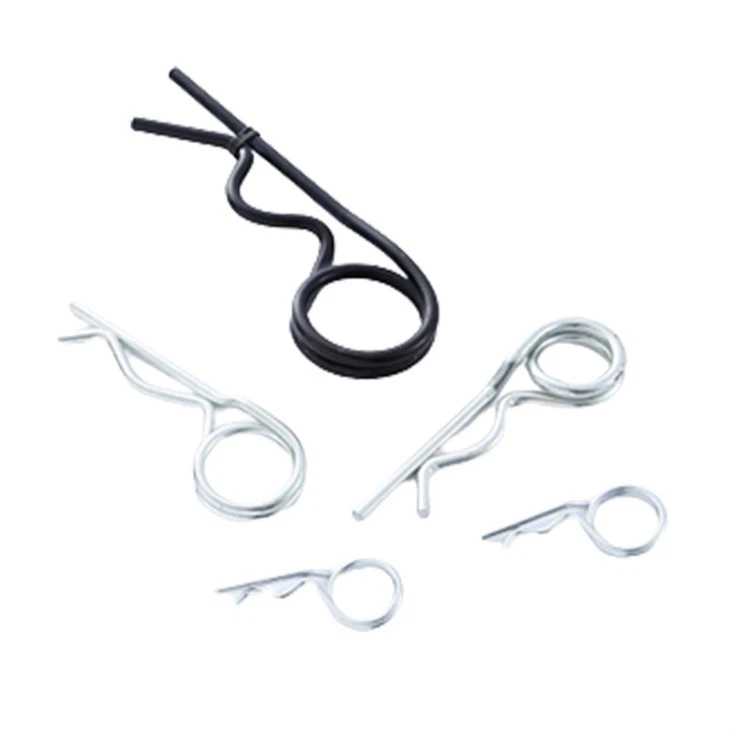
Before you start, you'll need to make sure you have the right tools on hand. You'll typically need a pair of pliers, a punch, and a hammer. The pliers will come in handy for gripping and pulling out the old pin, while the punch and hammer are used to drive out stubborn pins. Oh, and don't forget to have your new spring pin ready. We offer a wide range of high - quality spring pins, like Slotted Tooth Spring Pins, Din11024 R Cotter Pins, and Din1481 Or Iso8752 Stainless Spring Pin. You can choose the one that best suits your needs.
Step 2: Remove the Old Spring Pin
The first step in replacing the spring pin is to remove the old one. If the pin is accessible, you can try using the pliers to grip it and pull it out. Sometimes, the pin might be stuck in place, especially if it's been in there for a long time or if there's corrosion. In that case, you can use the punch and hammer. Place the punch on the end of the pin and gently tap the hammer to drive the pin out. Be careful not to hit too hard, or you might damage the surrounding components.
Step 3: Inspect the Hole
Once you've removed the old spring pin, take a close look at the hole where the pin was inserted. Check for any signs of damage, like burrs or scratches. If you find any burrs, you can use a file to smooth them out. A damaged hole can prevent the new pin from fitting properly, so it's important to make sure the hole is in good condition.
Step 4: Insert the New Spring Pin
Now it's time to insert the new spring pin. First, make sure you've got the right size and type of pin for your application. Hold the new pin in place at the entrance of the hole. You can use the pliers to guide it in if necessary. Then, gently tap the pin with the hammer until it's fully seated in the hole. Make sure the pin is straight and that it fits snugly.
Step 5: Test the Connection
After inserting the new spring pin, test the connection to make sure it's secure. Try moving the components that the pin is holding together. If everything feels stable and there's no excessive movement, then you've done a good job. If the connection still feels loose, you might need to double - check the pin installation or consider using a different size or type of pin.
Tips and Tricks
- Lubrication: Before inserting the new spring pin, you can apply a little bit of lubricant to the pin and the hole. This can make the installation process smoother and also help prevent corrosion in the future.
- Safety First: Always wear safety glasses when using a hammer and punch. You don't want any flying debris to get into your eyes.
- Keep Spares: It's a good idea to keep some spare spring pins on hand. That way, if you encounter another damaged pin in the future, you can replace it right away without having to wait for a new one to arrive.
Why Choose Our Spring Pins?
As a spring pin supplier, we take pride in offering top - quality products. Our spring pins are made from high - grade materials, which means they're durable and can withstand a lot of wear and tear. We also have a wide variety of spring pins to choose from, so you're sure to find the perfect one for your specific application. Whether you need a Slotted Tooth Spring Pin for a precision job or a Din11024 R Cotter Pin for a heavy - duty application, we've got you covered.

If you're in the market for spring pins or have any questions about replacing damaged spring pins, don't hesitate to reach out. We're here to help you find the best solution for your needs. Whether you're a professional mechanic or a DIY enthusiast, we can provide you with the high - quality spring pins and the support you need. Contact us today to start a conversation about your spring pin requirements.
References
- General knowledge of spring pin applications and replacement procedures from years of experience in the spring pin supply industry.
- Manufacturer guidelines for the production and use of spring pins.