Installing a trailer pin in a rusty hole can be a challenging task, but with the right approach and tools, it can be accomplished effectively. As a supplier of high - quality Trailer Pins, I've encountered various situations where customers face difficulties in such installations. In this blog, I'll share some practical steps and tips on how to install a trailer pin in a rusty hole.
Understanding the Problem
Rust in a hole can cause several issues when trying to install a trailer pin. Rust creates an uneven surface, which can prevent the pin from fitting properly. It may also increase the friction, making it harder to insert the pin. Additionally, rust can weaken the structure around the hole, potentially leading to further problems if not addressed.

Tools and Materials Needed
Before starting the installation process, gather the necessary tools and materials. You'll need:
- A wire brush or a rust - removing brush: This will help you clean the rust from the hole.
- Rust converter: It can transform the rust into a more stable compound and prevent further corrosion.
- Penetrating oil: To lubricate the hole and make it easier to insert the pin.
- A hammer: For gently tapping the pin into place if needed.
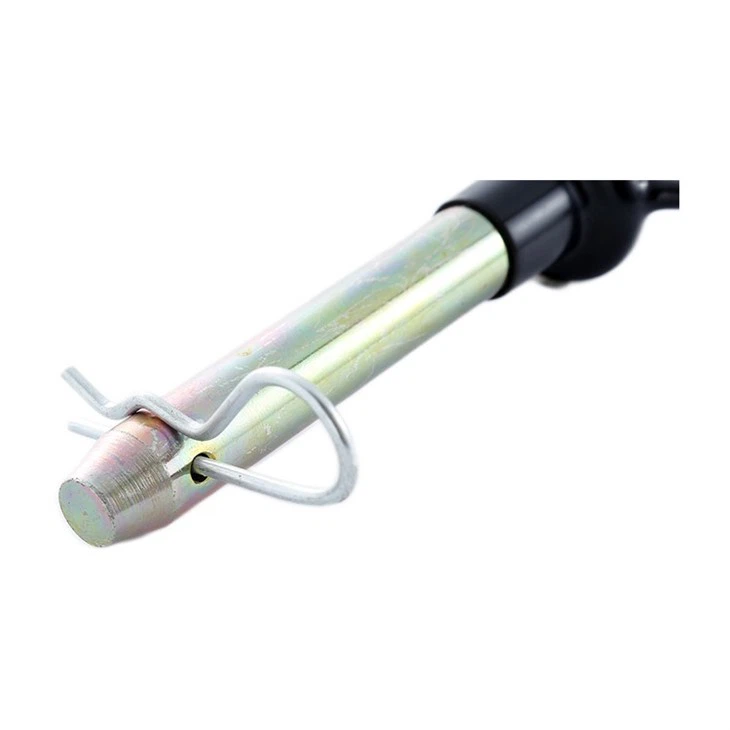
- The appropriate Trailer Pin, such as our Stainless Hitch Pin, which is made of high - quality stainless steel and is resistant to rust and corrosion.
Step 1: Assess the Rusty Hole
First, take a close look at the rusty hole. Check the depth, diameter, and the extent of the rust. If the hole is severely rusted and has a lot of debris, it might require more intensive cleaning. If there are any signs of structural damage around the hole, you may need to consult a professional before proceeding.
Step 2: Clean the Rusty Hole
Using the wire brush or rust - removing brush, start scrubbing the inside of the hole. Make sure to reach all the corners and remove as much loose rust as possible. You can also use a small drill bit or a pick to remove stubborn rust particles. Be careful not to damage the hole while cleaning.
After brushing, use a vacuum cleaner or compressed air to remove the rust dust from the hole. This will ensure that no debris is left inside, which could affect the installation of the pin.
Step 3: Apply Rust Converter
Once the hole is clean, apply the rust converter according to the manufacturer's instructions. Usually, you'll need to use a brush or a spray to coat the inside of the hole evenly. The rust converter will react with the remaining rust and turn it into a black, protective layer. Let the rust converter dry completely before proceeding to the next step. This may take a few hours, depending on the product.
Step 4: Lubricate the Hole
Apply a generous amount of penetrating oil to the inside of the hole. The penetrating oil will not only lubricate the surface but also help prevent future rusting. Use a dropper or a small brush to ensure that the oil reaches all parts of the hole.
Step 5: Prepare the Trailer Pin
Before inserting the pin, make sure it is clean and free of any dirt or debris. If the pin has any sharp edges, you can file them down slightly to prevent scratching the hole. You can also apply a thin layer of lubricant to the pin to further reduce friction during installation.
Step 6: Insert the Trailer Pin
Carefully align the trailer pin with the hole. If the pin doesn't fit easily, don't force it. You can try gently tapping the pin with a hammer, but be very cautious not to damage the pin or the hole. If the pin still won't go in, re - check the hole for any remaining rust or debris and clean it again if necessary.
Once the pin is inserted, make sure it is fully seated in the hole. You can use a measuring tool to check the depth of the pin to ensure it meets the required specifications.
Step 7: Secure the Trailer Pin
Depending on the type of trailer pin, you may need to secure it in place. Some pins have a cotter pin or a clip that needs to be inserted through a hole in the pin. Make sure the securing device is properly installed and tightened to prevent the pin from coming loose during use.
Tips for a Successful Installation
- Use the Right Size Pin: Make sure you choose a trailer pin that is the correct size for the hole. An ill - fitting pin can cause problems and may not provide a secure connection.
- Wear Protective Gear: When cleaning the rusty hole and handling the tools, wear safety glasses, gloves, and a dust mask to protect yourself from rust dust and debris.
- Follow Safety Procedures: If you're working on a trailer that is attached to a vehicle, make sure the vehicle is parked on a level surface and the parking brake is engaged.
- Regular Maintenance: After installing the trailer pin, it's important to perform regular maintenance. Check the pin and the hole for signs of rust or wear and clean and lubricate them as needed.
Why Choose Our Trailer Pins
As a Trailer Pins supplier, we take pride in offering high - quality products. Our Stainless Hitch Pin is made from premium stainless steel, which provides excellent corrosion resistance. It is designed to fit a wide range of trailers and is easy to install. We also offer a variety of other trailer pins to meet different customer needs.
If you're in the market for trailer pins, whether it's for a new installation or a replacement, we'd love to hear from you. Our team of experts can help you choose the right pin for your specific requirements. We offer competitive prices, fast shipping, and excellent customer service. Contact us to start a discussion about your trailer pin needs and let's work together to find the best solution for you.
References
- "Trailer Maintenance Handbook": A comprehensive guide on trailer maintenance, including information on installing and maintaining trailer pins.
- Manufacturer's instructions for rust converters and penetrating oils.